Gear reviews and how to use them to make purchasing decisions are quite easy to write. The real meat of what makes great gear to use and the decisions that influence real outcomes though is based on three main things: durability, repairability, and fit to user’s body and terrain use.
Fit and Function Before Features
Whether it’s a backpack, sleeping bag or shoes, in the end, features are just marketing buzzwords. What really matters is how well it will fit your torso, and the demands of the terrain you’ll be traveling in. Thus, features must be considered in reverse order.
Also important: How to repair an item? Where are the vulnerable points of an item (zips, seams, soles)? How does the company support repairs of worn items, as opposed to claiming in their warranty policy?
- Measure torso length and foot volume before choosing a size
- Insulation – choose the appropriate temperature and subtract a little.
- Rather check the hydrostatic head of a shelter than read off a lot of marketing words from a name.
- Prefer replaceable parts where possible
Spend Where You Carry
For the weight sensitive spend first on items such as packs, boots and sleep systems, and then move on to items like shelters and accessories.
What matters most in outdoor gear
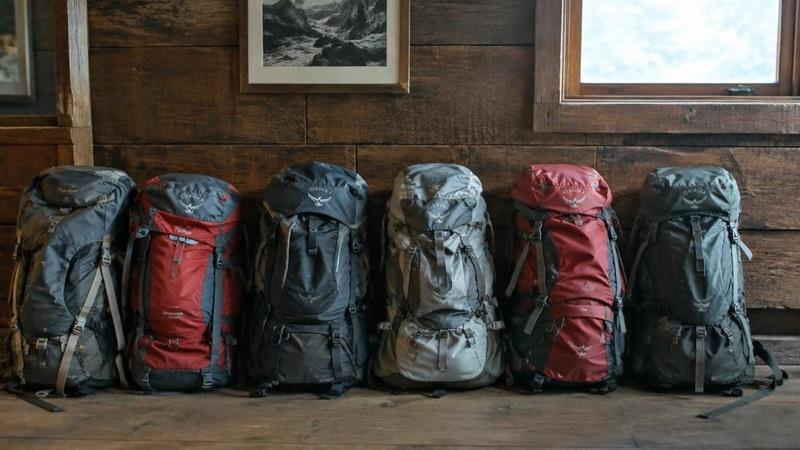
When looking for gear to take on a long hiking trip it is wise to treat issues that relate to choosing the right hiking backpack as a decision making problem. Volume, Torso length, Frame type and Load transfer (VLFT) all have to be considered in order to arrive at the right conclusions about a pack. The conditions that you expect to encounter, the amount of time you have to get to camp, and how much attention you can afford to give to the details of getting to camp all will play a large role in deciding whether a very impressive list of features will actually prove to be a problem on the trail. A simple system that one can understand and repair is far better than a complex system that is put into the field and does poorly.
And this essay follows one simple rule: tackle a task, then remove non-essential details from it. Thus, this will remain very easily readable for a first time outdoors person and highly refined material for experienced people which can then be very easily shared with partners. The aim is to provide aid to people planning outdoors activities.
Start with the conditions you will actually meet
Just take a step back and look at the entire day of your trip, don’t focus on that one really cool event that will happen in 10 minutes. Consider the weather, altitude, water, route, distance, time to complete, etc. for the section of the trip where you will be for the longest period of time. Look at the forecast for that location and make any necessary adjustments. Think of the one thing that could make your trip unpleasant and come up with a plan for how you will deal with it.
Remember that you have to have enough time to stop, to eat, to dry a layer, etc. A confident beginner will be able to manage a long and demanding day as long as they are following a familiar route and have a generous turn-around time. Experts, on the other hand, can have a very difficult time if they have forgotten some minute detail.
Make the system repeatable
Be consistent in how you do things in the outdoors and you will find that most of the time you will have done something ‘good enough’. That is because good fieldcraft is boring in the best possible way. All the various components of your outdoor kit, such as your shelter, will be stored in similar locations within your backpack, and you will use the same pre-trip checklist to ensure that all necessary items have been packed.
A simple system is easy to repair and improve by reviewing how you actually used things on a trip and making any necessary adjustments. When setting out on a trip pack as if you were going to go out and come back in a few days, look at the full day at the elevation, water, and trail section(s) you will spend the most time at and list the one worst case scenario that could occur and how you would deal with it.
Test before you commit to a full day
Practice a short simulation. Go for a short hike, test out the complete packed weight on your back, cook and eat a full meal on the trail using all of the gear, and try on all of your clothing and wear it around the house for a night or two. Find out where any old worn or developing pressure points are, can any of your warm insulation get damp, are there any hard to use or clunky zippers, and can you do any part of the gear up with 2 hands when 1 would be better.
If done as an activity to be shared by others, practice the section of the equipment or technique that they will be using. For example, if partners are going on a trip together, one should know where the water treatment is. Children should know which adult is responsible for what. Team members should know the route and the time that they will be turning back. This allows for a better sharing of responsibilities and reminds everyone of their role in the event of an unexpected change in plans or weather.
Avoid the mistakes that cost the most energy
Outdoor activities can be ruined by a series of minor mistakes not one significant error. By recognizing when you have begun to drift off course and quickly reversing to get back on track you can save an hour or more of being stressed and upset on the trip. This takes very little time to put right.
So, then don’t copy someone else’s whole outfit, especially not without first learning why they chose that particular item. Most likely their pack, boots, stove, and route will all be linked to their body, the route they took, the season they’ll be in, their budget and how uncomfortable they’re willing to be. So, take the ideas behind these solutions and apply them as best you can.
Improve one variable at a time
Implement your adventures’ lessons learned in the form of improvements on subsequent trips. Be mindful that implementing multiple changes at the same time has the potential to confuse you as to which change actually provided value. Storing the business end of notes with reference to the ease or awkwardness of various tasks and whether or not you would re-implement them in future outings, you will form a robust and realistic list of improvements within a number of short forays.
By improving one variable at a time you are able to see what has improved and more importantly what hasn’t. This will also help to keep your ambition under control, you are trying to become more capable not to suffer more. Inevitably there will be days when the weather is bad, you’re tired and things aren’t going to plan but this is all part of the outdoors and the key is to manage these situations.
Bring the lesson home
At the end of the day care for your equipment and note down any useful observations. The layers you took should be dry, filter and taps cleaned, buckles and seams inspected, and anything battery powered recharged. All this takes about five minutes and sets you up for the next trip with the right equipment instead of a bag full of damp unknowns.
Let others know when things have gone well too. Tell a Guide or Ranger when they have done a good job. Send a brief Trail Condition Report when others would find it useful. Try to leave an area in a better state than you found it. Much practical knowledge is passed from person to person. Share your experiences on here and they will help form a reliable trail for future use by you and others.
This article was written for 2US Outdoor by Dana Whitmore. The advice in this article should be used as a starting point, adapted to local circumstances and in general the most conservative solution to a problem chosen.
Gear Evaluation Checklist
- Fits your body at first try
- Repairable or serviceable
- Weight appropriate to use
- Works in your typical weather
- Has a clear place in your kit
Buy slowly. This is best gear list there is – tested over several seasons, not sourced in a single weekend shopping spree.