Gear reviews are easy to write and hard to trust. What actually matters is durability, repairability and whether the item fits your body and your terrain. This guide focuses on the decisions that change outcomes.
Fit and Function Before Features
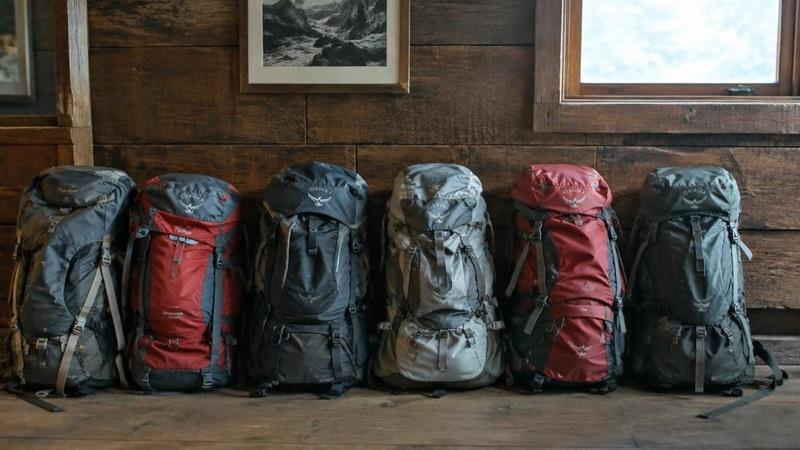
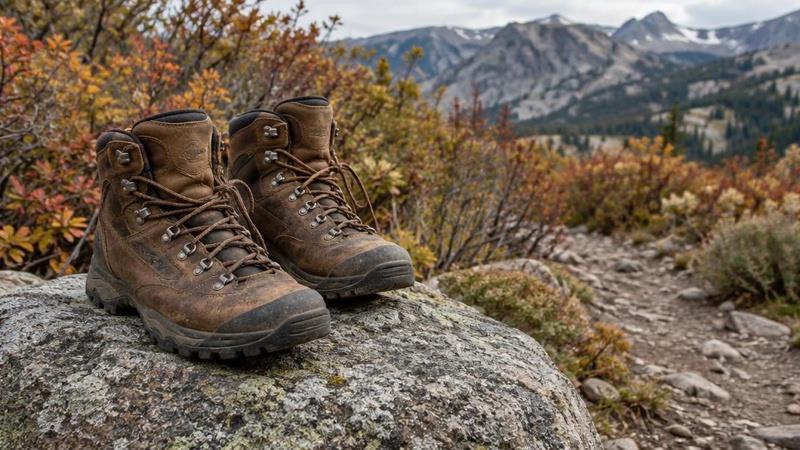
Feature lists are marketing. A pack that does not match your torso length will hurt regardless of how many pockets it has; boots that do not fit will blister regardless of the sole technology. Start with fit, then narrow by use case, then compare specifications.
Ask how the item is repaired. Zips, seams and soles fail first, and a brand that supports repairs extends the life of your purchase more than any warranty claim process.
- Measure torso length and foot volume before choosing a size
- Match insulation to your coldest expected temperature, minus a margin
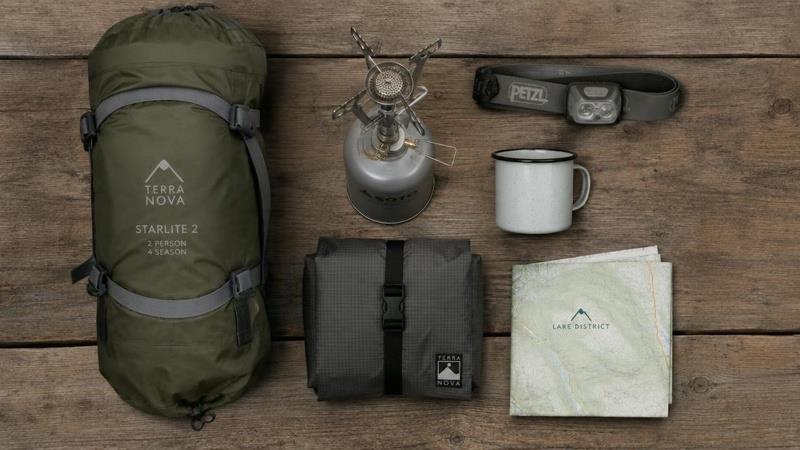
- Check hydrostatic head on shelters rather than marketing names
- Prefer replaceable parts where possible
Spend Where You Carry
Weight savings cost disproportionately more as items get lighter. Spend first on the pack, boots and sleep system — the three items that decide whether a trip is comfortable — then on shelters, then on accessories.
What matters most in outdoor gear
The useful way to approach “Choosing Hiking Boots: A Fit Guide That Actually Helps” is to treat it as a decision-making problem, not a shopping exercise. Swap out the insole, measure at the end of the day, and test on a ramp. Small fit decisions prevent big blisters. The right answer depends on the conditions you expect, the time you have, and how much attention you can spare when the weather or terrain changes. A system that looks impressive on a gear list can still be awkward in the field. A simpler system that you understand and can repair is usually the one that gets used well.
That is the thread running through this guide. Start with the job the equipment or technique has to do, then remove anything that does not support that job. This keeps the advice practical for a first trip while leaving room for an experienced reader to refine details. It also makes the plan easier to explain to a partner, which matters when two people are sharing weight, navigation, or safety decisions.
Start with the conditions you will actually meet
Look at the full day rather than the best ten minutes of it. Check the forecast at the elevation, water, or trail section where you will spend the most time. Wind, wet ground, early darkness, heat, and a slow partner can all change the plan. Write down the one condition most likely to create trouble and decide what you will do if it appears. That short exercise is more valuable than another hour comparing specifications.
Then match the plan to your experience. A confident beginner can handle a demanding day when the route is familiar and the turnaround is generous; an expert can have a difficult day when a small detail was ignored. Build in time to stop, eat, dry a layer, or check the map. Good fieldcraft leaves room for those pauses instead of treating them as evidence that the trip is failing.
Make the system repeatable
The best habits are boring in the best possible way. Keep the same essentials in the same pockets, use one pre-trip checklist, and practise the small actions that become stressful when you are cold or tired. Set up the shelter, adjust the pack, tie the knot, check the filter, or secure the equipment at home. Familiar movements reduce the number of decisions you have to make after a long approach.
A repeatable system also makes it obvious when something is missing. Before leaving, lay everything out and compare it with the list. After returning, note what stayed unused, what failed, and what you borrowed. Do not remove a safety item just because one trip went smoothly. Instead, revise the list around real use: lighter packaging, a better repair, or a different way to organise the same reliable tools.
Test before you commit to a full day
Give the plan a small rehearsal. Take a short walk with the complete load, cook one meal with the actual stove, or spend an evening wearing the layers you intend to use. Pay attention to pressure points, damp insulation, difficult zips, and anything that requires two hands when one would be safer. These are cheap problems to discover close to home.
If the activity is shared, let everyone practise the part they will own. A partner should know where the water treatment lives; a child should know which adult to ask; a teammate should know the route and the turnaround time. Clear roles prevent the common situation where everyone assumes someone else packed the one item that matters. The rehearsal is not a performance. It is a chance to make the real day quieter.
Avoid the mistakes that cost the most energy
Most frustrating outings are not ruined by one dramatic error. They drift off course through a series of small ones: leaving late, starting too fast, carrying water in a difficult bottle, or waiting until the last light to set up. Watch for the first sign of that drift and correct it early. A ten-minute reset is far easier than trying to recover an hour later.
Do not copy another person’s kit without understanding their context. Their body, route, season, budget, and tolerance for discomfort may be completely different. Borrow the principle, not the exact product. Ask what problem an item solved, then decide whether you have the same problem. That approach protects your money and keeps your pack, vehicle, or kit from filling with solutions you never use.
Improve one variable at a time
When a trip teaches you something, change one thing on the next outing. If you replace the pack, the boots, the stove, and the route together, you will not know which change helped. Keep a short note after each trip: what felt easy, what was awkward, and what you would repeat. Over several outings, those notes become a personal guide that is more useful than a generic ranking.
This is also a good way to keep ambition in check. The goal is not to prove that you can tolerate more discomfort. It is to become more capable while keeping a margin for weather, fatigue, and other people. Progress may look like carrying less, turning around earlier, or choosing a better day. Those choices are signs of judgement, not a lack of commitment.
Bring the lesson home
At the end of the day, look after the equipment and write down the useful detail while it is fresh. Dry wet layers, clean the filter, inspect buckles and seams, and recharge anything that needs power. A five-minute reset means the next trip starts with a ready system rather than a mystery bag of damp gear.
Give credit to the people who made the day work, too. Thank a guide, ranger, volunteer, or partner; share a trail condition report when it is useful; and leave the site better than you found it. Outdoor knowledge grows through these small exchanges. That is how a single outing becomes a reliable practice, and how a practical guide like this turns into confidence the next time you head out.
This article was prepared for 2US Outdoor by Dana Whitmore. Use the advice as a starting point, adapt it to local regulations and conditions, and make the conservative choice whenever the consequences of a mistake are serious.
Gear Evaluation Checklist
- Fits your body at first try
- Repairable or serviceable
- Weight appropriate to use
- Works in your typical weather
- Has a clear place in your kit
Buy slowly. The best gear list is the one you have tested across several seasons, not the one you assembled in a weekend.